


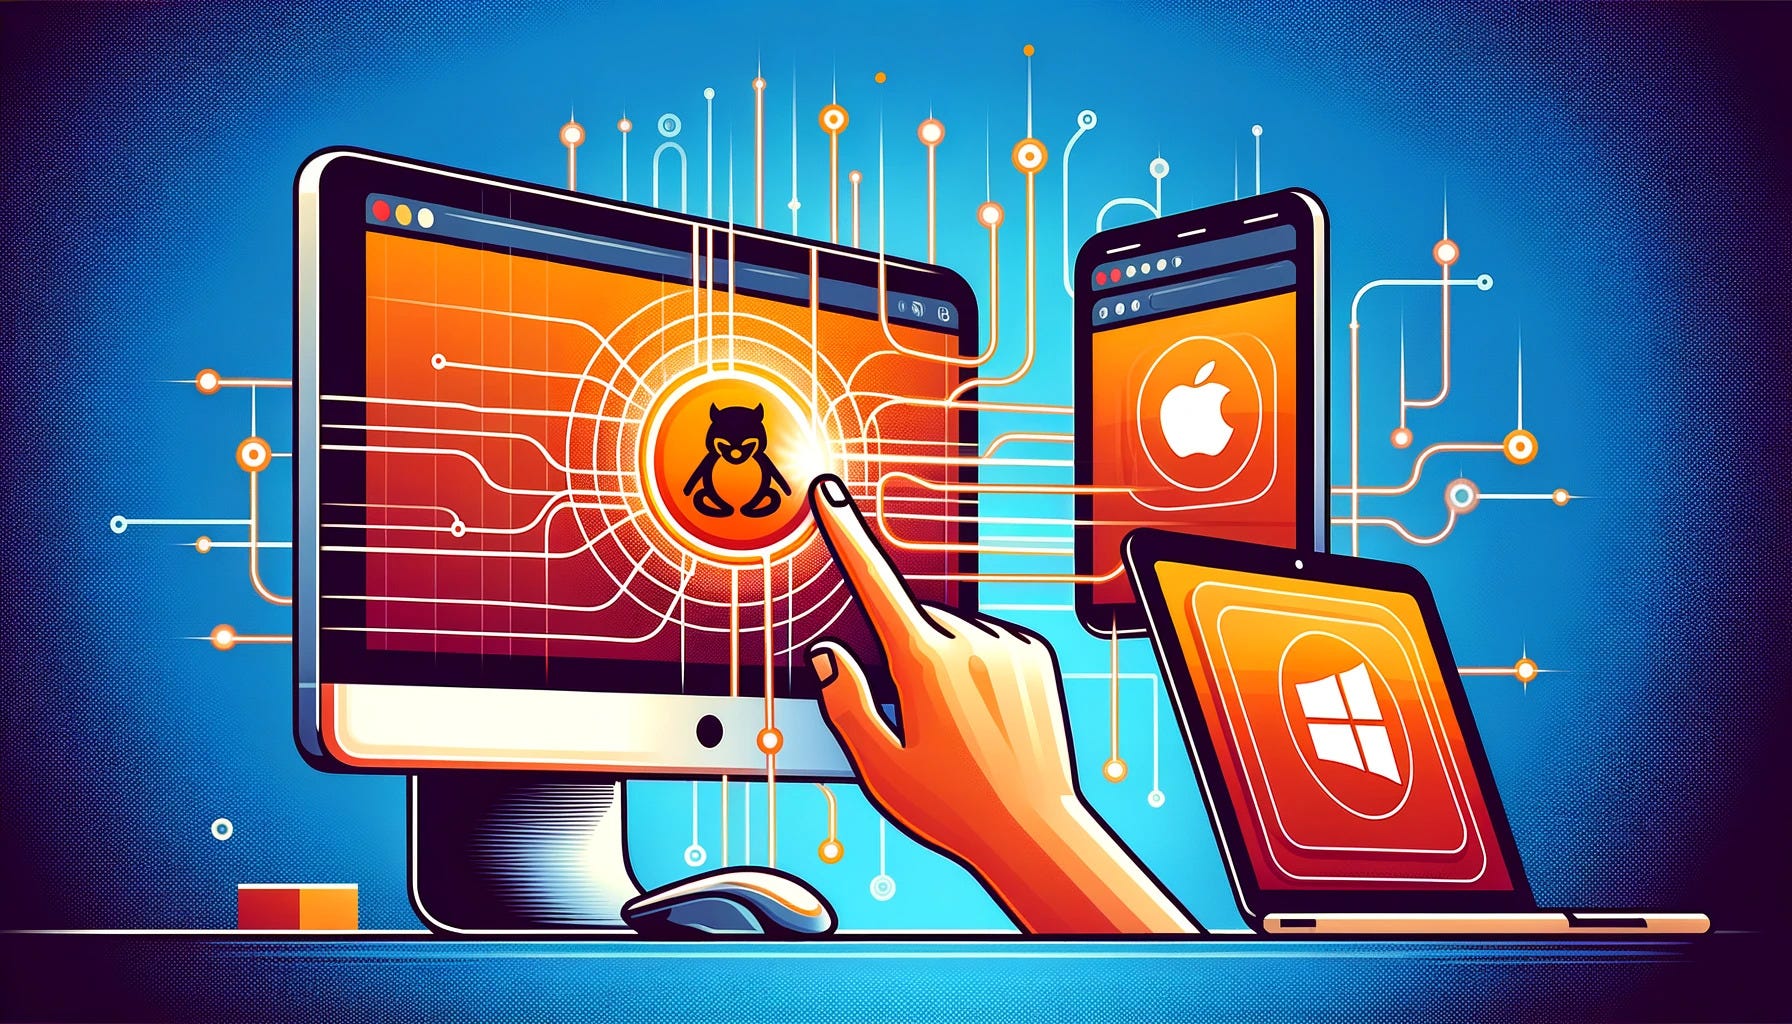
Ubuntu Remote Desktop: Effortlessly Connect From Mac or Windows
Your Comprehensive Guide to Setting Up and Utilizing Ubuntu's Remote Desktop Capabilities

At one time or another, many of us will find ourselves in need of the capability to use a remote server from a desktop, allowing us to seamlessly carry out tasks on a distant machine. This very necessity arose for us, too, as we needed to execute specific tasks remotely.
Using Remote Desktop
Initially, we set up a Windows machine for this purpose, finding the deployment and access through Microsoft Remote Desktop to be straightforward. However, it soon became clear that the cost of running Windows machines was triple that of Ubuntu machines. This revelation led us to transition to Ubuntu for executing all the cron jobs we previously ran on the Windows machine.
Problem with Ubuntu machine
While Windows machines come with a pre-installed operating system, the same cannot be said for Ubuntu machines. Preparing an Ubuntu machine for remote desktop access involves a series of steps, such as installing the Ubuntu desktop environment, display managers, drivers, and more.
Choice of packages
Opting to cut costs by manually installing these packages presents you with a wide array of options, including various display managers, drivers, and desktop clients. Achieving the right synchronization among these components is crucial and can be quite challenging. I spent an entire day experimenting with different combinations of packages, experiencing numerous setbacks along the way.
Easy installation steps
Following the hustle of figuring everything out, I decided to share an easy, step-by-step guide for installing the necessary packages on an Ubuntu machine. This guide will enable you to effortlessly connect to your Ubuntu machine via Microsoft Remote Desktop and use it as if you were sitting right in front of it, remotely.
First, launch an Ubuntu machine, ideally version 20 or 22 (though any version should work). Then, ensure you open port 22 (SSH) and port 3389 (RDP) in the inbound rules to facilitate access.
Once you have the machine set up, before beginning any installations on the Ubuntu machine, it’s crucial to update your system. Start by updating your package lists with this command:
sudo apt updateFollowing the update, don’t forget to execute the upgrade command to ensure all your system’s packages are up-to-date.
sudo apt upgradeNext, we’ll install the XRDP package, which enables remote desktop functionality on your Ubuntu machine. To install XRDP, use the following command:
sudo apt install xrdpOnce XRDP is successfully installed, you need to enable it. To do so, use the following command:
sudo systemctl enable xrdpNow, let’s establish the rule to allow connection through the firewall for the required port using the following command with ufw (Uncomplicated Firewall):
sudo ufw allow from any to any port 3389 proto tcpNOTE: While some tutorials may suggest enabling ufw (Uncomplicated Firewall) with a specific command, doing so can interrupt your SSH connections. It's important to know that you can proceed without enabling ufw directly, as the required functionalities will still work.
The command mentioned earlier allows connections to port 3389 from anywhere. If needed, you can restrict access to this port to specific machines for enhanced security. Also, remember that port 3389 must be opened in the inbound rules of the machine, as highlighted previously.
After completing the previous steps, it’s a good practice to update your package lists again. To do so, use the following command to update apt:
sudo apt updateNext, to enable graphical user interface (GUI) access on the machine remotely, you need to install the ubuntu-desktop package. Use this command to install the ubuntu-desktop package:
sudo apt install ubuntu-desktopNow that we’ve installed all the necessary packages on the machine, the next step is to set up a user account for logging in via remote desktop. In our scenario, we’ve created a new user with limited access to certain folders.
Creating a new user can be accomplished with the following command:
sudo adduser {username}If you prefer not to create a new user and wish to use the user account created when the machine was launched, you can simply set or update the password for that user. In our case, the ubuntuuser was specified during the machine setup, so we updated the password for the ubuntu user to facilitate remote desktop connections using this account.
Changing the password can be done using the following command:
sudo passwd {username} - to set new {username} passwordFollowing these straightforward steps, we can now successfully connect to the Ubuntu machine from a remote desktop using both the ubuntuuser and the newly created user.
This guide represents the simplest method I recommend for enabling remote desktop connections to your Ubuntu machine, using the straightforward commands provided above.
Thank you for reading! Happy coding!